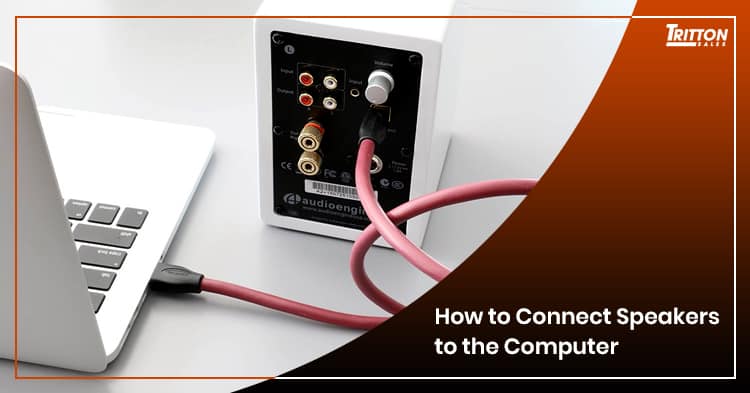
How to Connect Speakers to the Computer?
Most desktop computers do not have built-in speakers installed but only an audio output port, which is a good hint that PC manufacturers want you to buy the speaker yourself. Laptop owners, on the other hand, fare only slightly better than PC owners. While most laptops already have built-in small internal speakers, they lack the power and sound quality needed for you to truly enjoy the game you are playing or the movie you are watching.
It seems that the industry stance is for the owner to acquire an external speaker to get a decent enough sound quality. And since buying the speakers usually comes after buying the laptop or PC, it is further assumed that buyers somehow know how to connect speakers to their computers.
Which is not actually the case as some would no doubt insist. This is especially true for people who were born in the pre-internet era. But don’t worry; it’s a very easy process. After all, speaker manufacturers won’t get a single cent from you by making the task extra difficult.
By now, you have probably bought the speaker, which explains why you are scouring the net for articles on how to attach it to your PC. So, your next problem will be learning how to connect speakers to the computer.
Let’s go to the first step and that is to turn your PC off. Yes, it’s the basic step when tinkering with any electrical device. You want to minimize the risk of electrocution as much as possible, hence, this very important step.
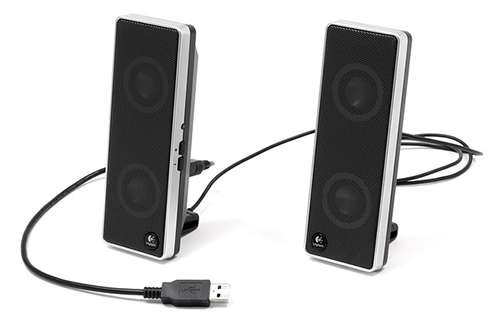
These days, most external speakers are connected to the computer using any of its USB ports. These are also known as USB speakers and are very easy to install since you can plug it into any vacant USB port and the computer does the rest of recognizing it as a speaker.

There are also some speakers that require you to connect to the computer by using speaker jacks which you have to insert to their slots or sockets located at the rear part of the computer or CPU. It’s easy to tell which speaker jack corresponds to which socket in the CPU since they are all color-coded. Using the rear sockets to connect the speaker is ideal if you want to reduce clutter as all wiring will be located at the back. However, the sockets are also replicated at the front portion of most CPUs. This is ideal for users who don’t mind a bit of clutter due to the exposed wires as connecting the speaker jacks to the CPUs from is more convenient.
In addition, there are some audio systems that use S/PDIF (Sony/Phillips Digital Interconnect Format). These types of connection are usually used in high-end speakers and are used mostly by serious audiophiles. If you want to buy a speaker that requires this type of connection, be sure to research beforehand if it is supported by your computer.
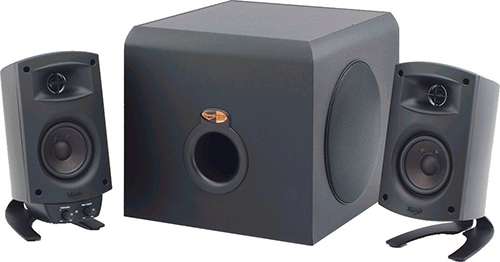
In 2.1 speaker systems, you will also need to connect the larger speaker also known as the subwoofer. This is speaker is specifically designed to handle the output of lower sound frequencies commonly known as bass. Some speakers require the support of a sound card so it is best to learn about the requirements before buying this type of speakers.

After connecting all the require wires, it is now time to connect the speaker to its power source. Some setups use the power from the CPU but you can also get your power source elsewhere such as from the voltage regulator. Just make sure that the voltage requirement of the speaker matches with the power source.
At this point, you may now turn on the PC, along with the speaker. At first, there might be some prompt by your computer regarding a new device or any message of that sort. Just follow its suggestions until it now acknowledges your new speaker. After completing this process, you can then test it out by playing a music or two.
Hopefully, this guide on how to connect speakers to the computer was able to help you.

